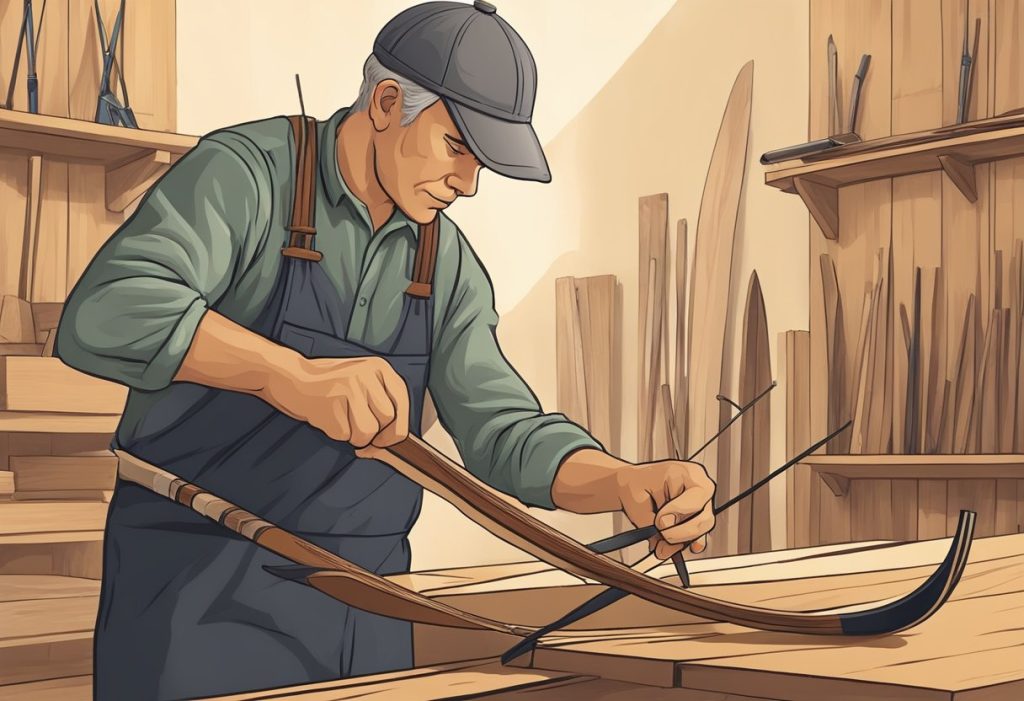
As an archery enthusiast, I’ve always been fascinated by the art and skill involved in making a recurve bow from scratch. Wooden recurve bow plans are not only a great way for fellow archers to develop their craftsmanship with little carpentry experience, but also offer a rewarding challenge that requires patience, precision, and a deep understanding of the materials and techniques involved.
To make a recurve bow, selecting the right type of wood is crucial in ensuring its flexibility and durability; the best choices include ash, black locust, hickory, lemonwood, maple, pieces of oak, or yew according to Archers Hub. Building a recurve bow is a skill that takes time to master, but the experience of crafting my own customized bow has been incredibly gratifying and beneficial to my archery journey.
Throughout the process, I’ve learned that patience is essential, as mistakes can be costly in both time and resources. Moreover, each step in making a recurve bow needs to be approached with a clear and focused mindset – from creating the initial design and selecting the materials, to perfecting the shape of the bow and finishing touches that ensure a reliable and efficient instrument.
Understanding Recurve Bow Design
Key Characteristics of Archery Bows
Recurve bows are a popular choice among archers for their unique design and efficient energy transfer. The main feature of a recurve bow is the curve at the tips of the limbs, which helps store more energy and provides a smoother draw. To create a recurve bow, I need to focus on constructing a strong, flexible base and limbs that can handle the tension and power exerted during a shot.
Selecting the Right Piece of Wood
Choosing the right type of wood for a recurve bow is crucial, as the wood needs to be strong yet flexible.
Some of the best wood I’d recommend for creating a recurve bow include:
- Yew: durable and flexible, yew has been used for centuries in traditional bow making.
- Hickory: known for its excellent shock resistance, hickory is a great choice for your own recurve bow.
- Ash: a strong and flexible wood commonly found in North America.
- Black locust: boasts impressive strength and flexibility, making it a viable alternative to yew.
- Lemonwood: another versatile, flexible wood suitable for bow crafting.
- Maple: a denser option, maple can create a powerful recurve bow.
- Oak: a well-balanced wood that combines strength and flexibility.
Each of these woods can provide a stable foundation for my recurve bow, and my choice should depend on factors such as availability, weight, and overall preference.
Design Considerations for Performance
The best way to ensure the best performance from my recurve bow, I need to take into account several design considerations:
- Tapering the bow limbs: Tapering the limbs of the recurve bow from the base to the tips is essential to ensure even distribution of force and energy. The base should be approximately 1 inch wide by 8/10-inch thick, and the tip should be around 1/2 inches wide by 3/10 inches thick.
- Creating the riser: The riser serves as the core of the recurve bow, connecting the limbs and providing a comfortable grip. I want to consider factors such as weight, durability, and aesthetics when selecting the material for my riser.
- Bowstring selection: Parachute cord or nylon bowstring can be used for the bowstring, although a thicker type of string should be employed to handle the tension.
By carefully considering each of these design aspects, its the easiest way to create a type of bow that performs well and provides a satisfying archery experience.
Tools and Materials
Essential Tools for Crafting a Bow
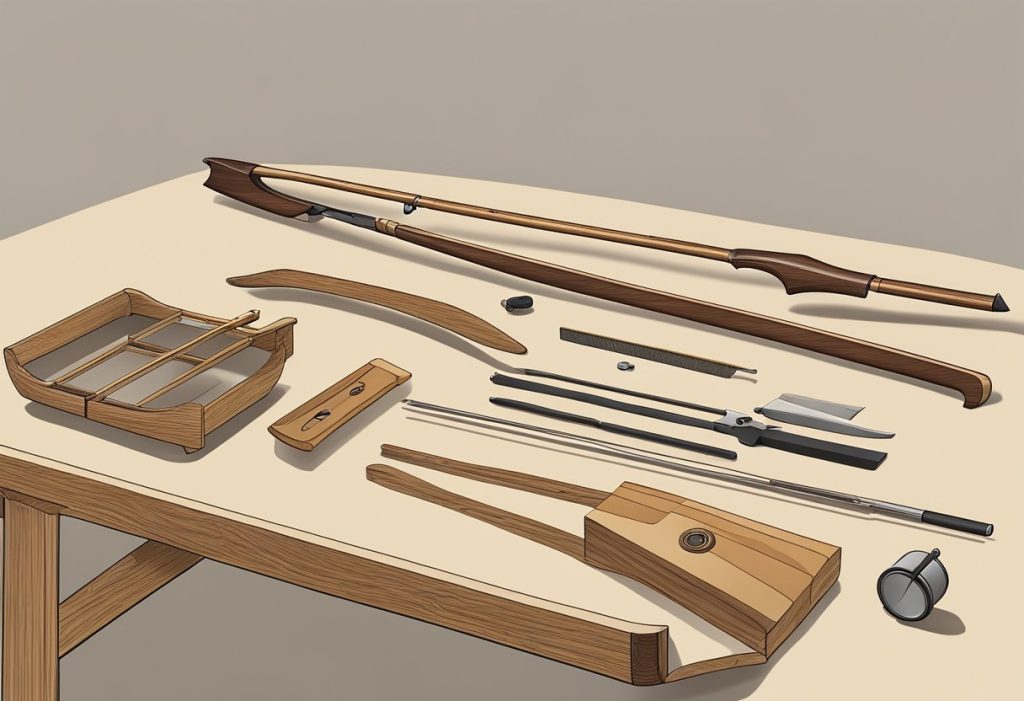
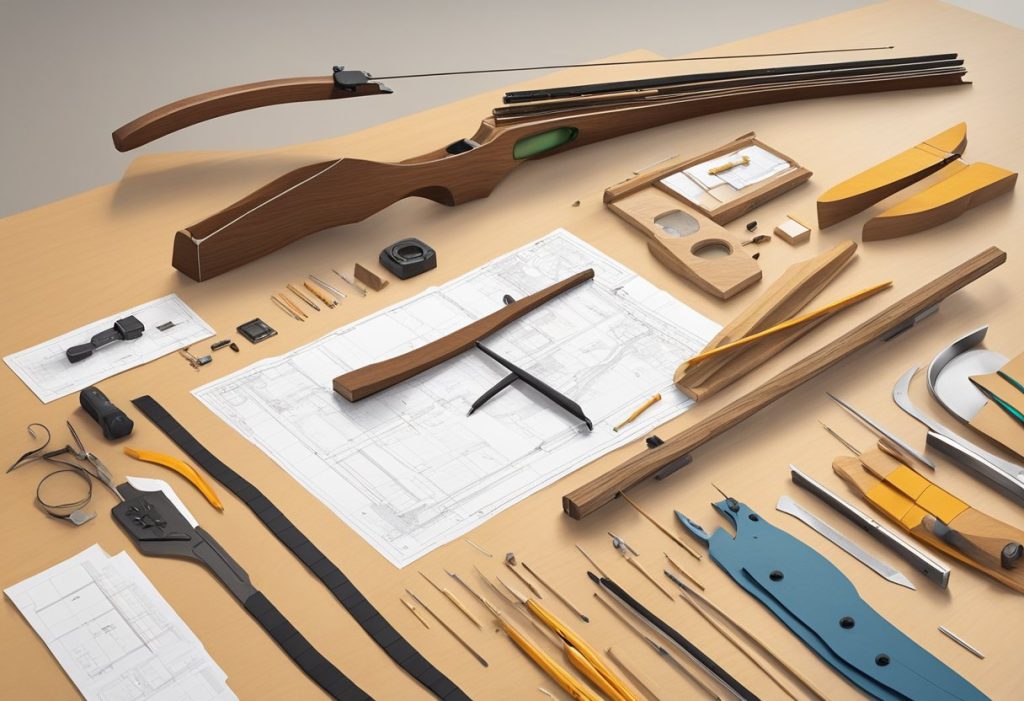
To build a wooden recurve bow, you’ll need several important tools to make the process efficient and accurate. Here is a list of essential tools:
- Saw: A fine-toothed saw for cutting wood precisely.
- Knife: A sharp knife to shape and carve the wood.
- Hatchet: This will help you remove larger portions of wood quickly.
- Sander: A sander will be essential for smoothing out rough edges and surfaces.
- Glue: Wood glue or epoxy to bond wooden layers together.
- String: Bowstring material, such as Dacron, for the finished product.
In addition to these primary tools, you’ll also need a cylindrical or flat file, a straight edge, a vise grip, power tools such as – a drill press, a circular saw, screw clamps, a heat gun, a draw knife, a tillering stick, a bow shaping frame, a pencil, a rasp, sandpaper, a face mask, and a ruler or tape measure.
Choosing High-Quality Materials
The choice of materials for your wooden bow is crucial to its performance and durability. Here are some popular species of wood to consider:
- Maple: A dense, hard wood that is straight-grained and widely available. It is the most common core wood used in glass-faced and backed bows.
- Ash: Known for its strength and elasticity, this wood is a popular choice among bow makers.
- Bamboo: An excellent material for bow building backing due to its light weight and strength.
- Birch: A relatively hard, close-grained wood with good bending properties.
You’ll also need high-quality wood glue or epoxy to securely bond your bow’s layers. The application of glue in the building process requires precision and patience, so make sure you choose a strong adhesive.
As for the bowstring, a durable and reliable material such as Dacron is ideal. When choosing the right materials, make sure to prioritize their quality and suitability for making a recurve bow.
Building the Bow’s Riser and Limbs
Shaping the Riser
When building a wooden recurve bow, the first step is shaping the riser, which serves as the bow’s core and connects the limbs. Start by choosing a sturdy material for the riser, such as hard maple wood . I like to make a template for the riser that takes into account the handle, total length, and curvature. Afterward, I carefully cut the wood according to the template using a band saw or a jigsaw. To achieve a comfortable grip, I carve and smooth the handle using a rasp and sandpaper.
Constructing the Limbs
Limbs are essential to the recurve bow, as they store the energy needed to propel the arrow. I recommend using wood laminate for the outline of the limbs, as this material offers excellent flexibility and strength. First, I cut the laminated strips to the desired bow length and taper them according to the bow’s design.
Next, I glue the laminates together using a strong adhesive. When gluing, it’s important to ensure even pressure across the different lamination pieces. Using screw clamps is helpful for maintaining consistent pressure. After the glue has dried, I remove the clamps and begin shaping the limbs using a rasp, spokeshave, or files. A vital step is forming a smooth back, as this significantly impacts the bow’s performance.
Attaching Limbs to Riser
Once the limbs are shaped, I move on to attaching them to the riser. This step requires careful attention to achieve a strong and secure connection. First, I carve a notch on each side of the riser to accommodate the limbs. Then, I dry-fit the limbs to ensure a perfect fit before using glue to secure them. After applying glue to the notches and the ends of the limbs, I carefully align the parts and clamp them together. It’s crucial to allow enough time for the glue to fully cure before proceeding to the final assembly and testing of the bow.
Tillering and Finishing Touches

Tillering Process Explained
Tillering is a crucial step in making a wooden recurve bow, as it involves shaping and refining the limbs to ensure they bend evenly and achieve the desired draw weight of the bow. I start by using a tillering stick, which is a simple wooden frame that holds the bow horizontally while I make adjustments. The long bow is hung from the top of the stick with a string tied to the tips of the limbs. To check the bend of the limbs, I pull down on the string, simulating the full draw of the bow.
To shape the limbs, my personal use is a draw knife to carefully remove layers of wood. It’s important to work slowly and be cautious, as removing too much wood can weaken the limbs and negatively affect the bow’s accuracy. I keep checking the bending of the limbs using the tillering stick, adjusting them until they are symmetrical and reach the desired draw weight.
Refinement and Finishing Techniques
Once I am satisfied with the tillering process, I move on to the refinement and finishing touches. First time, I sand the limbs to smooth out any rough edges and give the bow an even surface. This not only improves the bow’s appearance but also helps to prevent splinters or cracks from forming.
Next, I apply a finish to the wood to protect the bow from moisture content and extend its lifespan. I often use polishing oils, such as tung or linseed oil, as they penetrate deep into the wood and provide a natural, protective barrier.
In addition to the wood finish, I sometimes add a layer of leather to the handle, which offers a comfortable grip and improves control while shooting. This extra touch helps to enhance the overall usability and performance of your own bow.
Throughout the entire tillering and finishing process, I maintain a confident and knowledgeable approach, ensuring that each step is completed with precision and care. By following these techniques, I am able to craft a wooden recurve bow that is both functional and beautiful, providing me with a reliable tool for archery practice or hunting.
Accessories and Maintenance

Selecting Arrows and String
When it comes to accessorizing my wooden recurve bow, it’s important to choose the right arrows and bowstring. For hunting and practice sessions, I opt for wooden arrows that are suitable for my recurve bow’s draw weight and draw length. To ensure compatibility and optimal performance, I consider factors such as arrow length, spine, and weight.
A quality bowstring is essential for maintaining my recurve bow’s performance. I prefer using a nylon bowstring due to its strength and durability. Additionally, I use a loop at the bowstring’s end to ensure a secure and consistent attachment to my bow.
As a added bonus, I equip my recurve bow with an arrow rest. This accessory provides a stable platform for my arrows, improving accuracy and increasing the overall shooting experience.
Caring for Your Recurve Bow
Proper maintenance is crucial for best results and to prolong the life of my wooden recurve bow. Regularly, I examine the bowstring and replace it when signs of wear become evident. When not in use, I unstring my bow to reduce tension on the limbs, thereby preventing any damage or deformation over time.
To clean and protect my wooden recurve bow, its a good idea to use a soft cloth to gently remove any dirt or debris. If my simple bow gets wet, I ensure that it is thoroughly dried before storage. Moreover, I store it in a cool and dry environment, avoiding direct sunlight and fluctuating temperatures, as these factors can compromise its structural integrity.
For additional security and protection, I use a bow case to transport and store my recurve bow. With proper care and maintenance, my wooden recurve bow remains in top-notch condition, ready for any hunting or practice session.
Overall, selecting the right accessories and performing regular maintenance enhance my recurve bow’s performance and longevity. By following these guidelines, I can enjoy a remarkable traditional archery experience and keep my bow in optimal condition for years to come….Good Luck!
