Archery targets can get pricey, especially if you’re spending hours on end driving aluminum and steel through them.
It adds up, and archery is supposed to be an upfront investment kind of hobby for the long time.
After all, a new bow can last for decades, and arrows for even longer.
What’s not going to last is that target in plastic bags.
They’re good, don’t get us wrong, but not for a hardcore archer who’s going to be out there as often as possible.
So let’s make our own diy archery target instead from inexpensive materials.
It saves money, it’s a hands-on way to add to your hobby, and you can make far bigger foam targets than store-bought targets.
Ready to go?
Let’s get started.
Wooden Archery Box Target
This one requires some DIY prowess, and will take a little bit of time to construct from scrap materials, to become the ultimate homemade archery target.
Follow these step-by-step instructions to end up with a durable archery target that will last for ages.
There’s going to be a lot of wood, basic materials, used here, so it’s a great idea to prepare for a carpentry project.
Take for 2” x 4” x 18” planks of wood, and make a frame out of them.
If you have to cut the corners at a 45° angle, that’s okay.
Using wood glue and 1.5-2” screws, attach the corners together.
Us a clamp if available to press the wood during the glue drying process.
Wait 3-4 hours before continuing.
You will need three of these frames in total.
Now that you’ve let the glue dry on all three frames, it’s time to attach them together.
You’re going to bring out the clamps again, as well as more wood glue.
Laying them flat, you’re going to coat one side of the first frame in glue, and press the second frame to it.
Glue the top of that frame, and attach the other.
Attach four clamps at the very least, but eight is preferable.
That’s going to take a while to dry, so let’s cut out other pieces of wood now.
You’ll need four separate 2” x 4” x 12” planks.
We’re going for a sturdy construction here since you’re going to be putting this through hell and back with constant arrow firing.
Measure 3” from the edge of the bottom of the frame, and place one 12” piece of wood going vertically across the wood.
It should overlap all three separate segments.
Screw those in from the inside of the frame, with the screws going down into the wood.
Repeat for the top and bottom (sides no required).
This will strengthen the wood frame.
You need two 4” x 4” x 24” posts of scrap wood.
Next step using a jigsaw, cut two 8” x 8” square holes in the bottom of your frame.
Place them so that they’re on the inside of the new wooden slats you attached.
These will hold the whole thing up.
Glue the posts into place.
From the outside of the frame, you may add two steel L brackets to either side of each post, and screw them into the wooden frame.
This step isn’t required, but it’s just going to make it a little bit stronger, so there’s no harm done.
You’re almost done.
You have a big wooden frame with stabilizers and legs, so now, we need to stuff it with something.
You have three main options to stuff it with:
- Old clothing – If you have enough laying around, those t-shirts and jeans can be used as filling.
- Foam mats padding – You can buy simple foam at the foam (not Styrofoam) to fill this with.
- Shrink wrap – Unravel a bunch of shrink wrap and stuff the inside of the frame with it.
- This will work the best.
Using staples or light tack nails, you’re going to take a sheet of 18” x 18” chicken wire and attach it to the back.
You might have to wrap it around the edges by about 2”, but make sure it’s on there nice and tight.
Laying it flat on its chicken wire back, fill it with your stuffing of choice.
You want it to be compressed to the point that it’s trying to come out of the chicken wire side like a squeezed honeycomb.
Lay Tyvek home wrap or ground cloth over the front of your new archery target, and attach with staples or tacks to the corners.
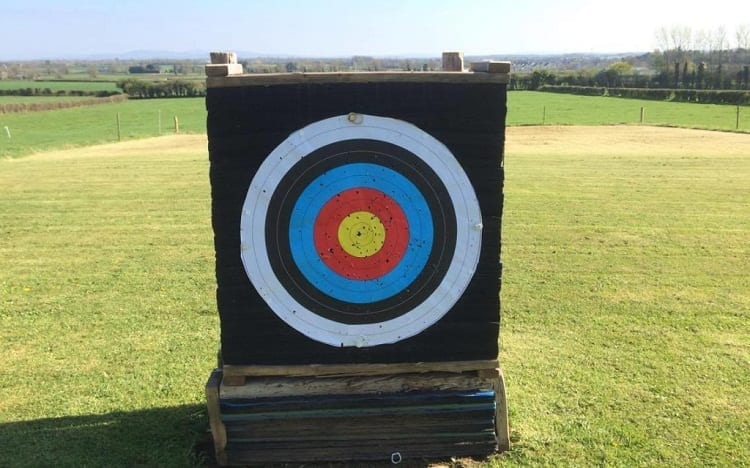
Now it’s time to paint your target.
You can either spray paint a target on the cloth/Tyvek (if you have a steady hand), or use a protractor to make a bullseye and work your way out from there.
Alternatively, you can purchase large flat wooden circles from craft stores, and simply trace them onto the cloth.
Take your time; we didn’t do all of this for an uneven new look target face.
Dig two 6” holes in the ground for the posts.
The result is a three-foot tall target at the end.
Place the target stands in the post and check that they are level.
Cover up the holes once the posts are in, and pack the dirt as much as possible.
You’ve taken your woodworking hobby and melded it with your archery skills.
It’s not the easiest target, but it’s super simple to tear away the Tyvek/ground cloth, replace the stuffing, and get more time out of your target.
Hay Bales Archery Target – Best Archery Target
Have a hay bale around?
You’re basically already done.
This super quick archery target instruction will
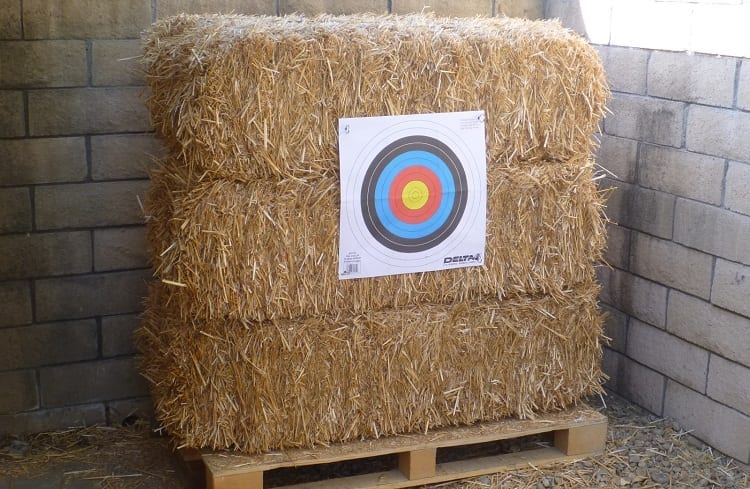
- Measure the hay bale target. It’s going to need to be bigger than your target. You’d ideally like it to be twice as tall and three times as wide.
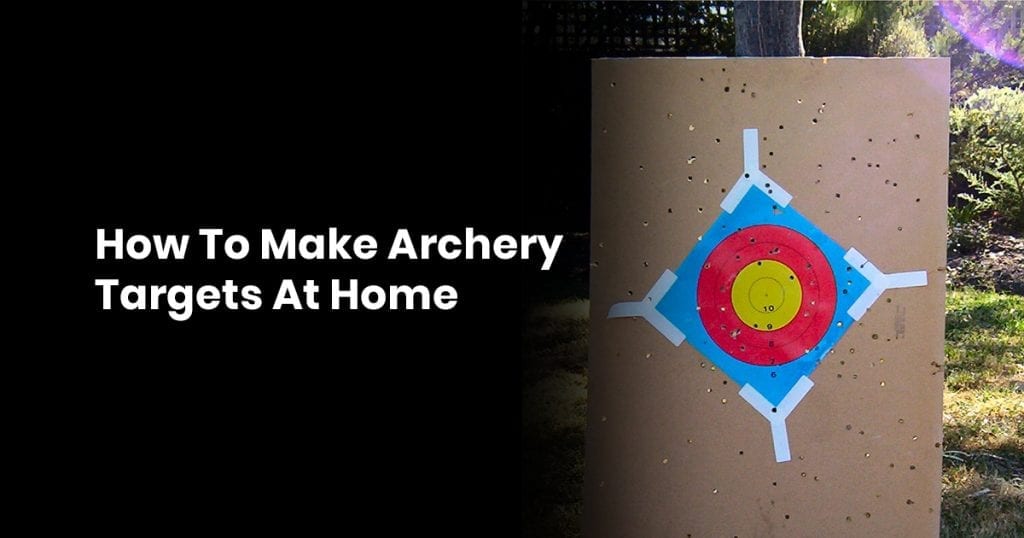
- Print out a 12” x 12” target. If your printer can’t handle anything over 8.5” x 11” standard paper, buy a poster board and cut it to size. Use a protractor to mark the bullseye, and create the outer rings from there. Color them differently so you know what you’re trying to hit from a distance.
- Use metal S hooks to pin through the corners of the paper (one on each corner), and then dig those into the hay bale. Your hay targets should be nice and taut against the side of the haybale.
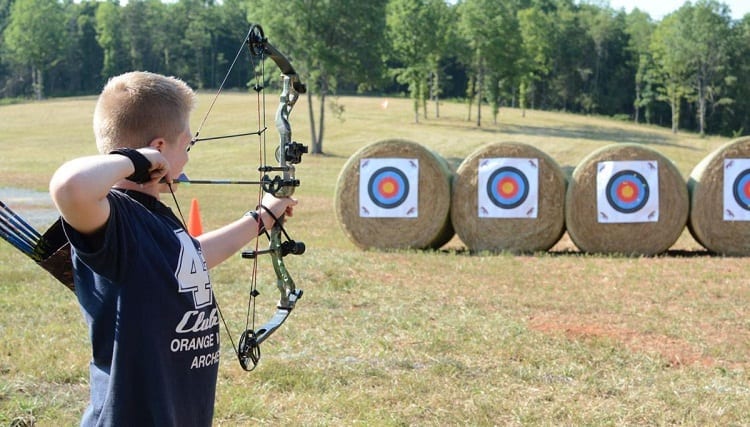
- Set up your archery target with a big backdrop. Against a barn, with nothing but woods behind it (that people don’t travel in), or what have you. Placement is important.
That’s it—super simple and only costs a few dollars.
If you have everything on hand, doesn’t cost a dime.
How Thick Does an Archery Type of Target Need to be?
At least twelve inches thick.
You’ll see little to no penetration through the other side of the target.
Whether you’re using plywood or foam floor mats, the more you have, the better.
For plywood, that twelve inches will be great, but for foam, you might want to aim for eighteen inches.
Foam has better capabilities of absorbing and distributing shock (hence why it’s used in archery targets everywhere), but as time marches on, you’ll see a lot of tearing.
This will weaken the foam and make it easier to penetrate all the way through, which is why the 50% boost in thickness is recommended.
If you are using specific high-speed (high FPS, low drag) arrows, then you’ll need to account for the extra KE that it will bring to the target.
Inspect to see if eighteen inches will be thick enough with a few well-placed, close-range shots.
If the arrows are within 2-3 inches of the other side, you should increase the total thickness.
To find out how much of the arrow has sunken into the target, simply measure your arrows before your test shots.
Measure what’s left, and figure out the difference.
Where Can You Use Archery Targets?
You can use them on your own property for outdoor use, provided that your state allows it.
Most US states allow private land archery training, so long as it doesn’t pose a threat to the public.
For example, if every single spot that you could place a target has a neighbor’s home within a very short distance in the backdrop, then that’s obviously not okay to target practice there.
Archery targets can be used where there is a large good backstop of either wide open forest, or a wall (such as putting the target in front of your barn).
The goal is to eliminate any possible injuries to you or the public, so as long as you can see the target and have a very wide margin of error around it, you should be a great way to go.
DIY Archery Variation

Once you your best diy archery target made at home, you’ll never go back to store-bought ones again (unless you’re going on a road trip).
Set these up in your usual archery range spot, and simply add another layer on top when these start to run thin.
It’s the cheapest way to get the most amount of square inches of fire-able space, and of course, you can put whatever you want on your new own archery targets as well, for easier access